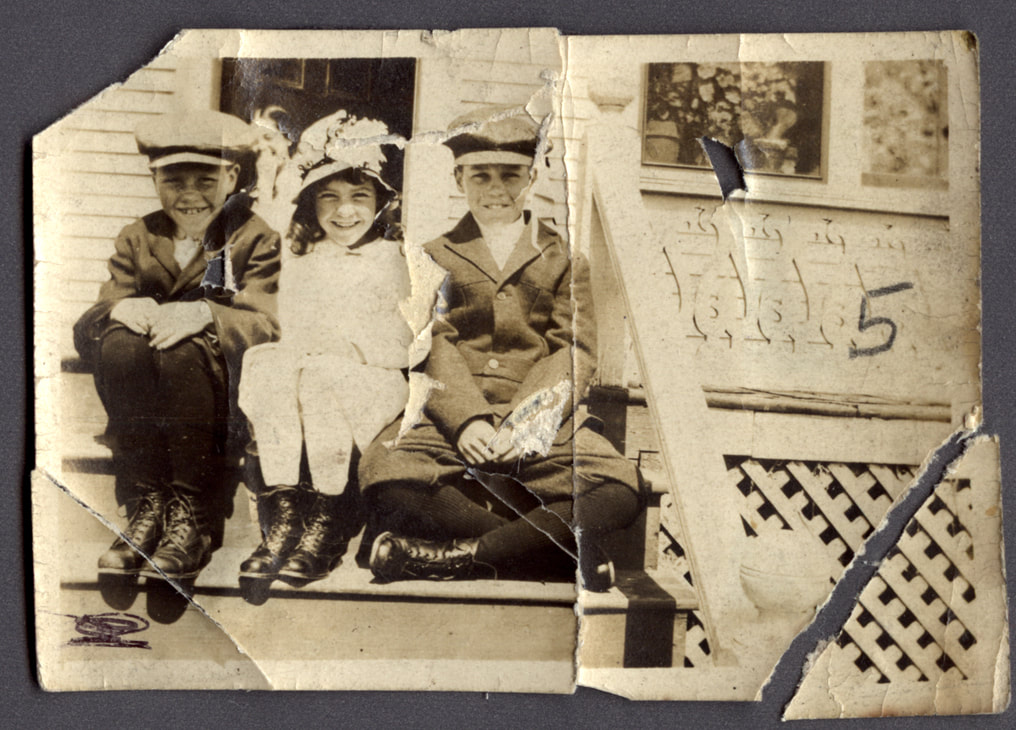
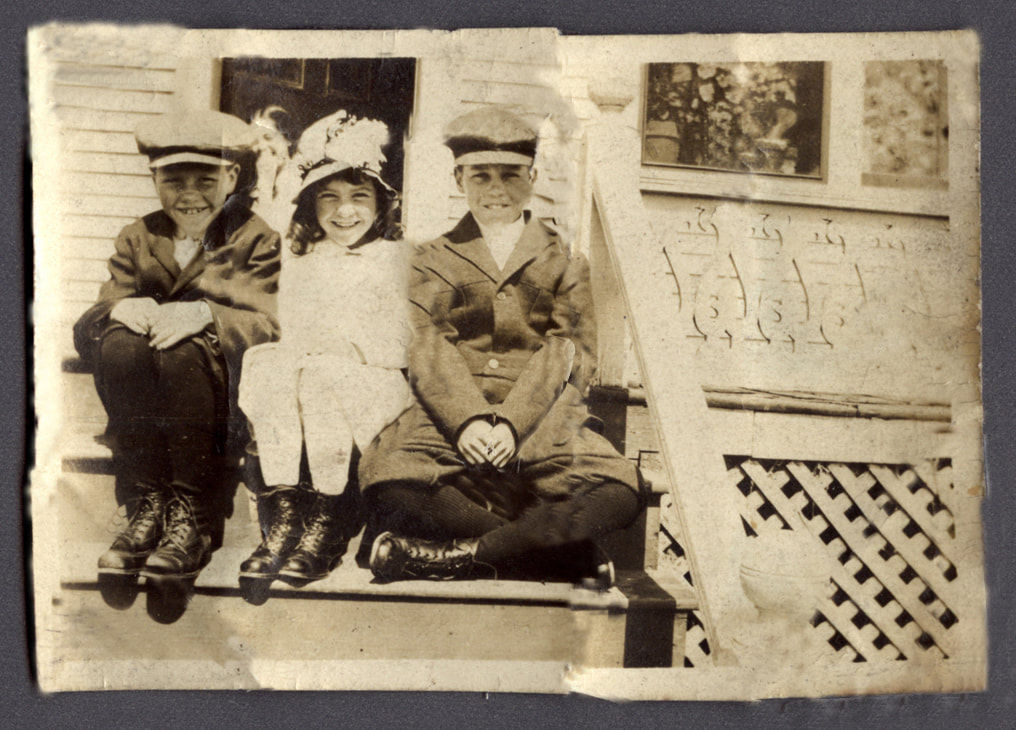
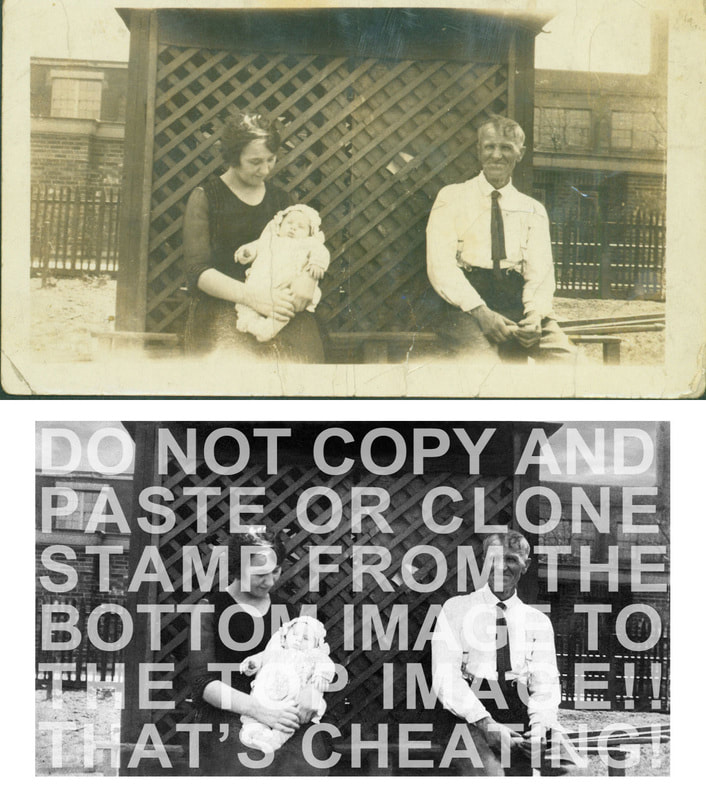
In this minor project, we were given a picture that was ruined and torn picture, and we had to use photoshop to make it look as if it was brand new. To do this, I used a lot of the tools. One was the clone stamp, which is what I used the most. It was used by taking a color of a specific area, and cloning it on to another area. For bigger damage, I had to use the lasso tool. The lasso tool helped me move, edit, and improve many different parts of the image. This minor project was challenging, and it taught me a lot about photoshop that I didn't previously know.
Before After

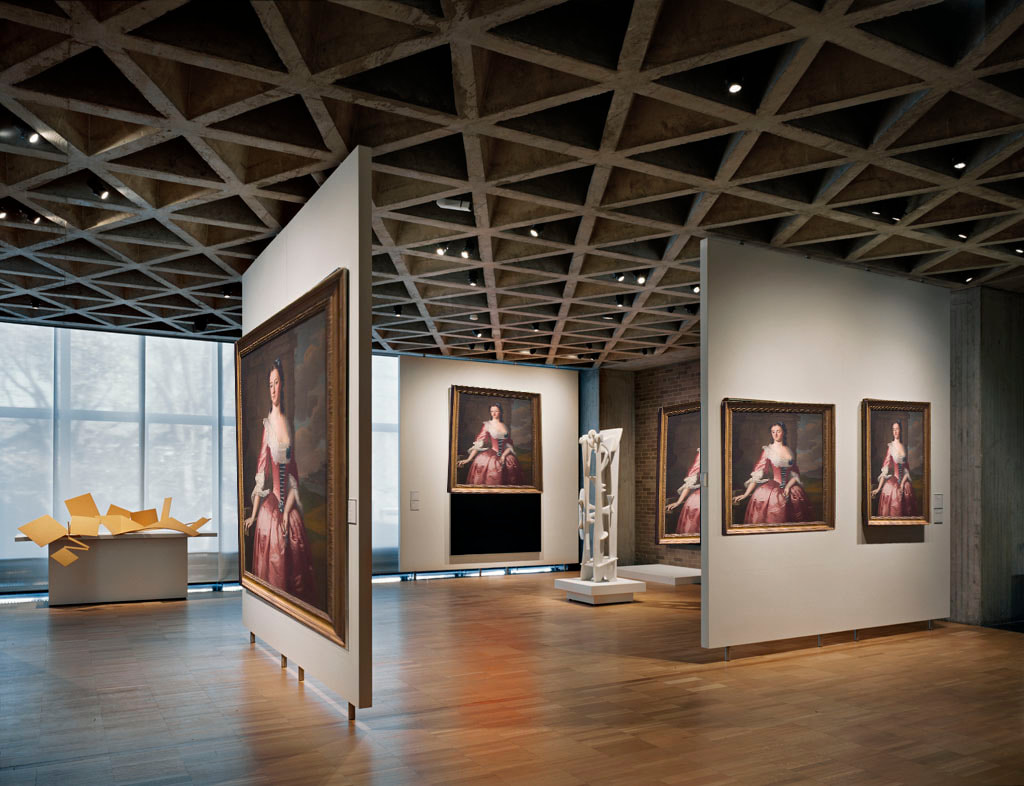
IN THIS PROJECT, WE WERE GIVEN A ROOM WITH A LOT OF DIFFERENT PAINTINGS ON THE WALL, AND WE HAD TO TAKE A PICTURE AND PUT IT ON EACH PICTURE FRAME. WE DID THIS BY USING THE DISTORT TOOL TO MOVe the image, and make it look like it was already there. This taught me more about photoshop that I didn't already know.
Before after
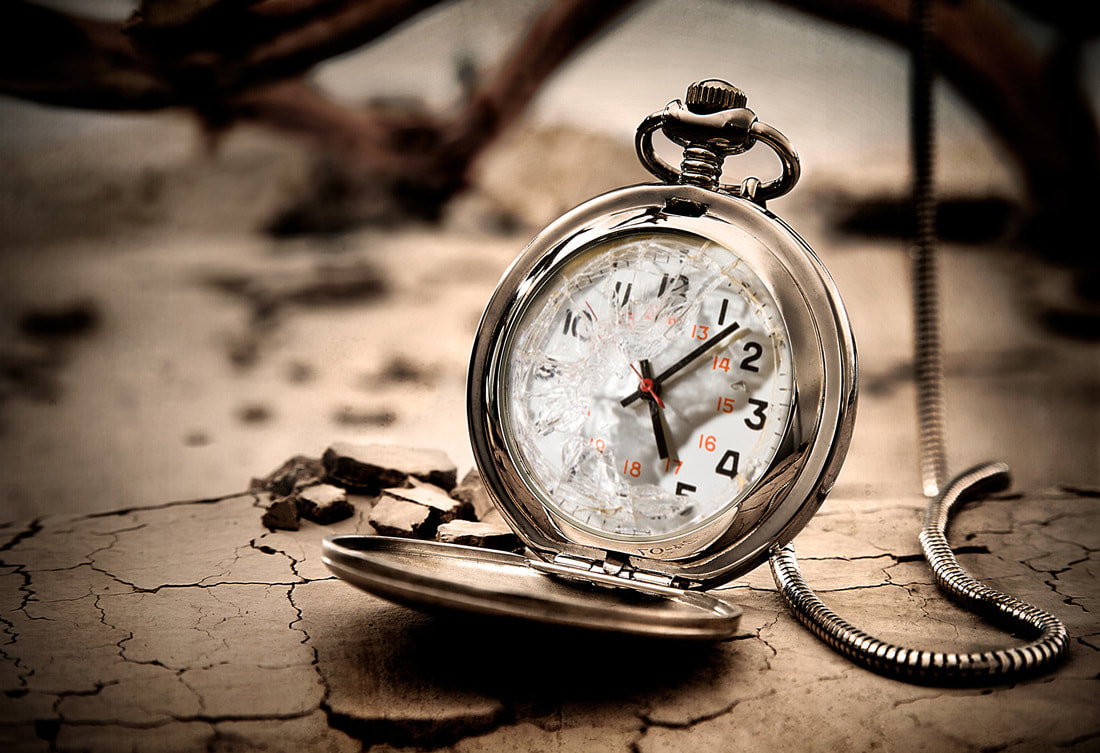
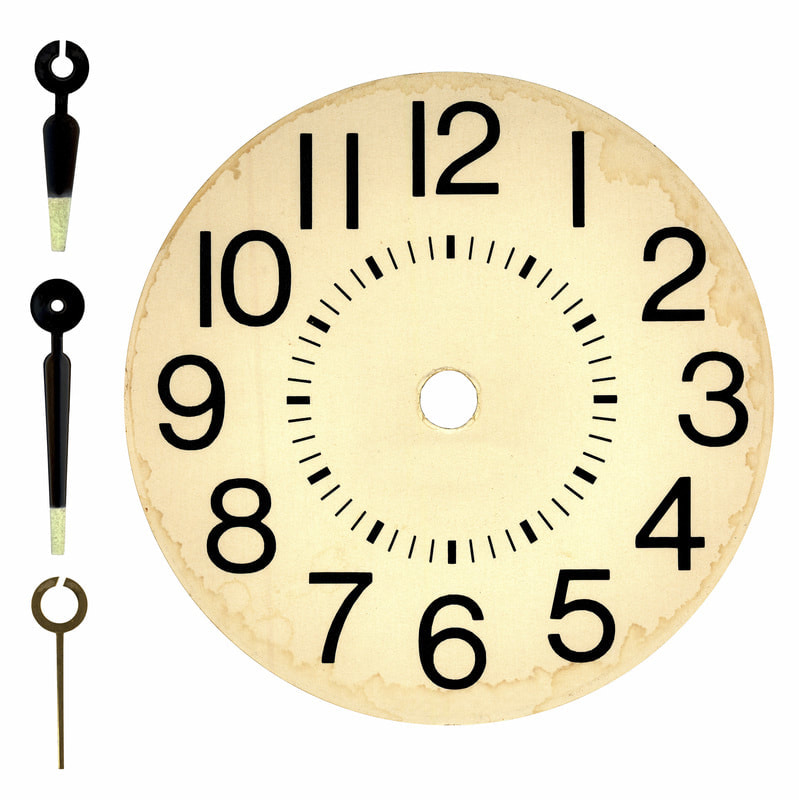
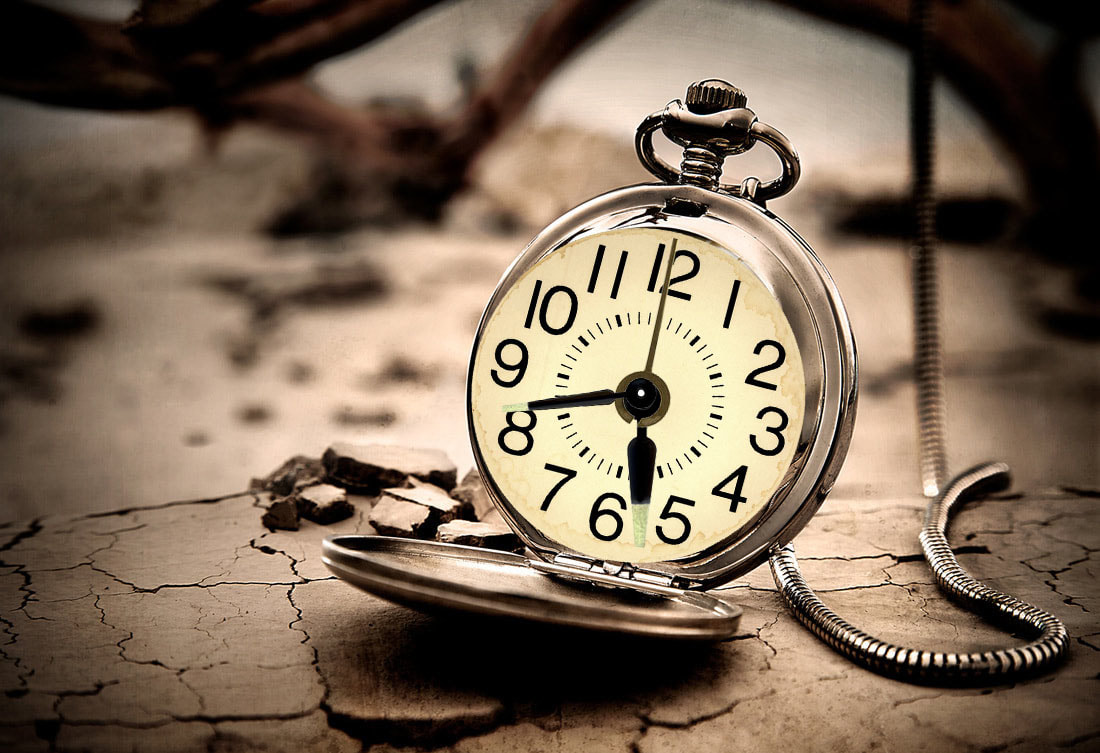
In this project, we were given a broken clock, a clock face, and different hands of a clock. We had to fix the clock using the given images. I had to make the new face transparent, and use tools such as the rectangular marquee tool, and drag the new face onto the old face. Then, we had to resize the images, and make them look like a new clock as best as we could.
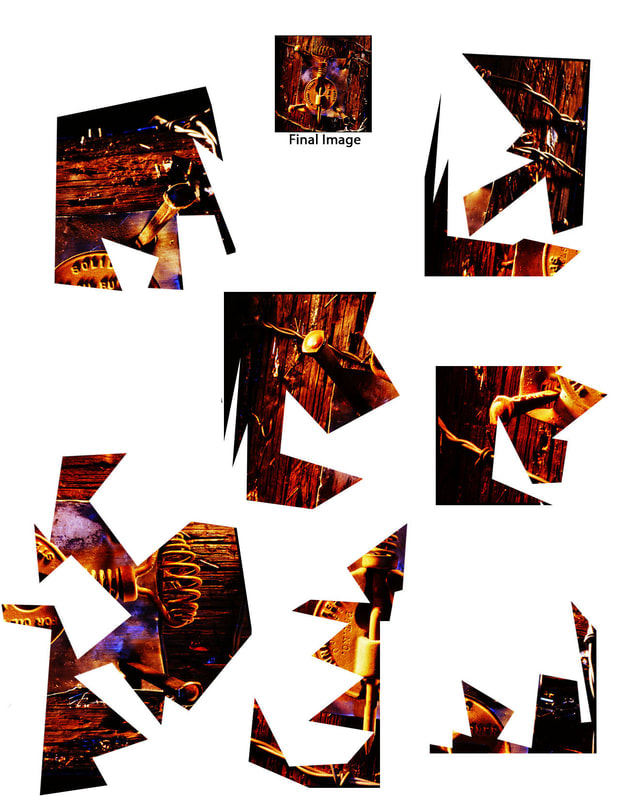
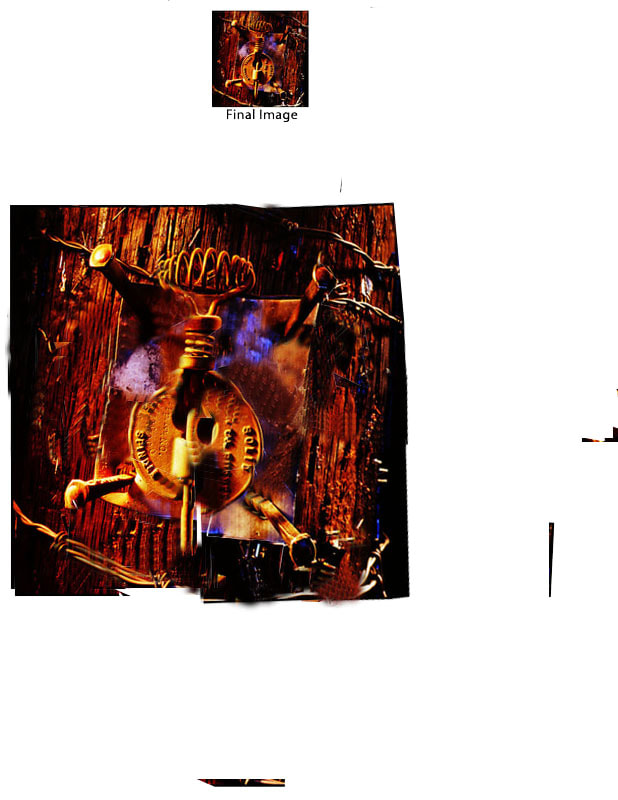
In this minor project, we were given a bunch of ragged images and we had to put it back together like a puzzle. First, I made the background transparent. Then, I used tools such as the rectangular shaped tool and the move tool to correctly assemble the pieces.
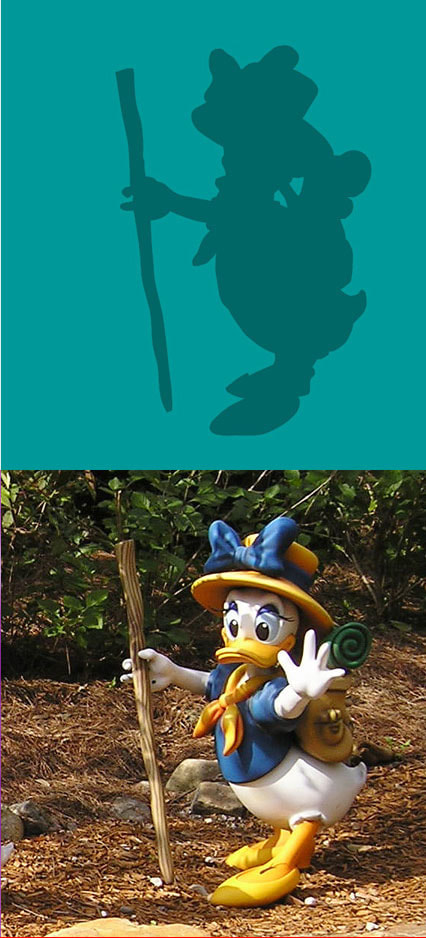
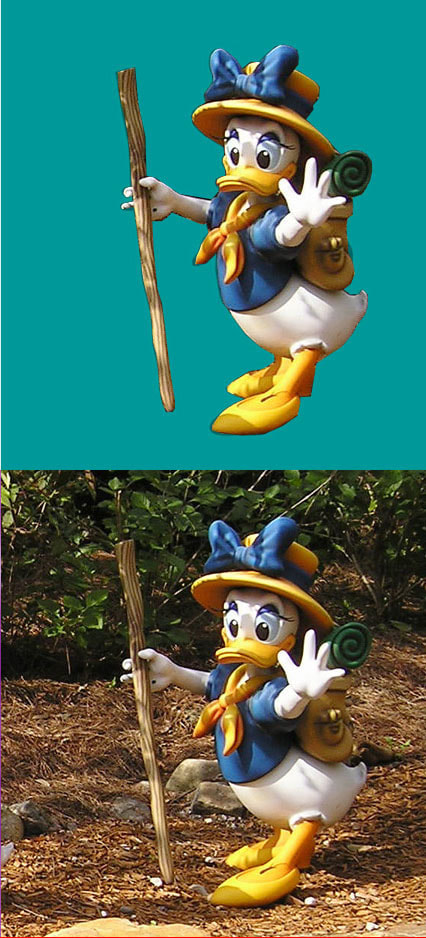
In this minor project, we were given an outline of daisy duck's body, and an image with daisy duck. We had to move daisy duck's body to the other image, while keeping the normal picture the same. I did this by outlining daisy with the polygonal lasso tool, and pasting and moving it onto the other.
Before After

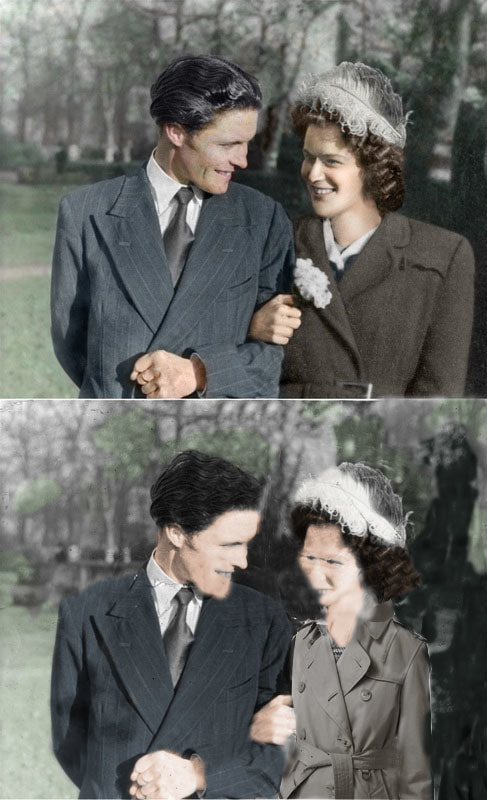
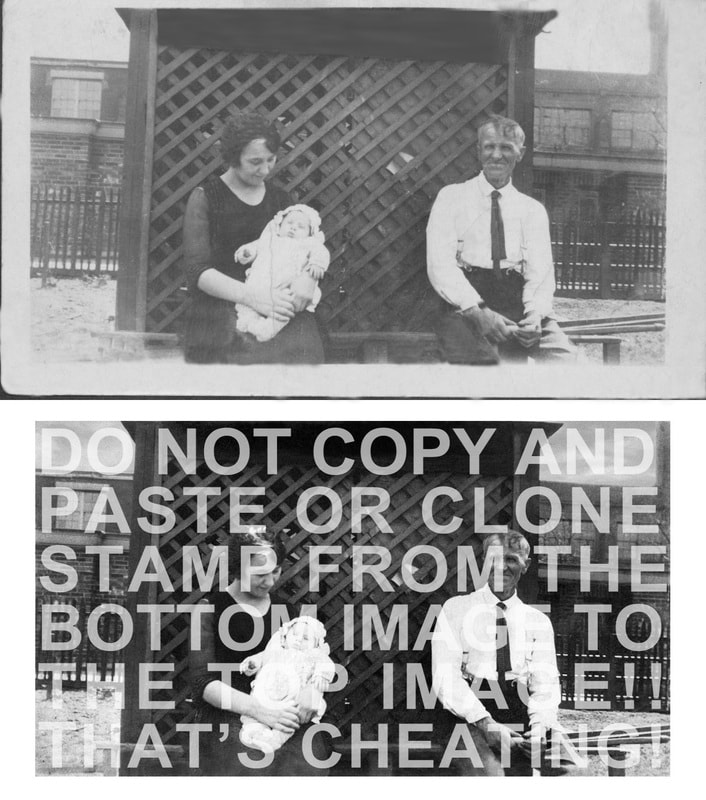
In this minor project, we had a normal picture on top, and on the bottom a lot of the picture was ripped off, and in black in white. We had to find a picture of a coat, a neck, and more. Then, we had to put in a background, and fix all the rips. After, we had to use the eye drop and paintbrush tool to make the picture in normal color. Although I messed up the lady's face, I learned a lot about photoshop in this project.
Before after

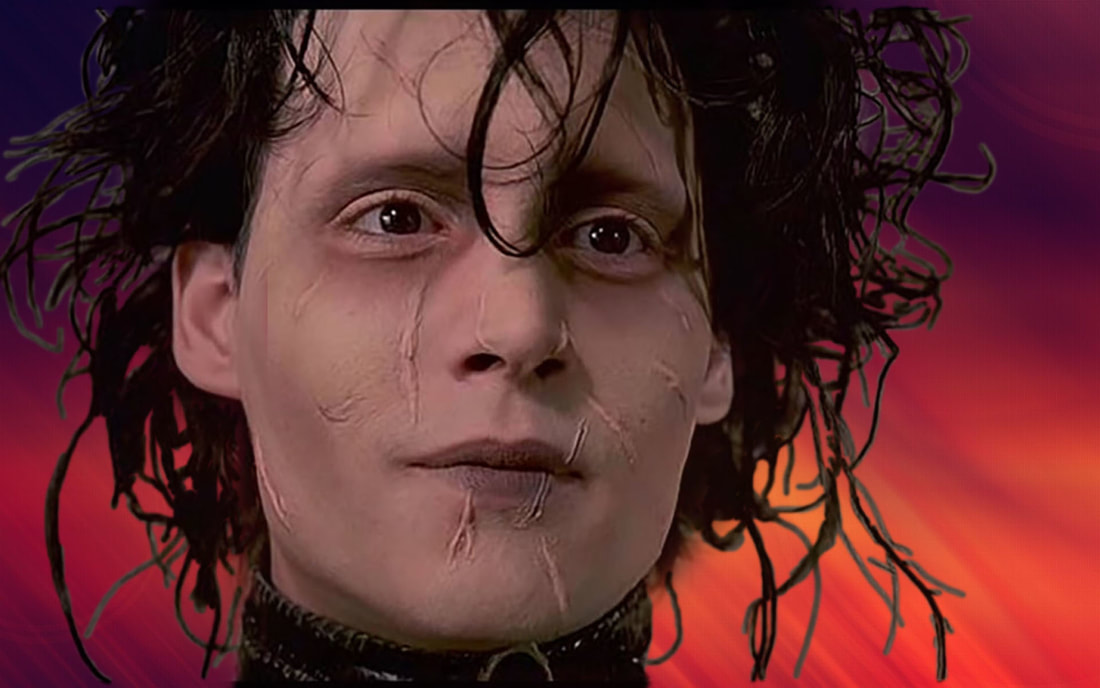
In this minor project, we had to take this man's face, and use the mask tool to select the whole thing, and put it on to a background of our choice. This project was easier than most, but still somewhat challenging.
Before After
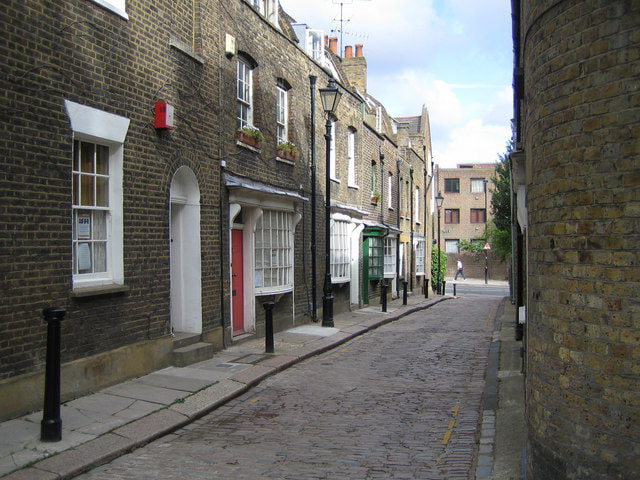
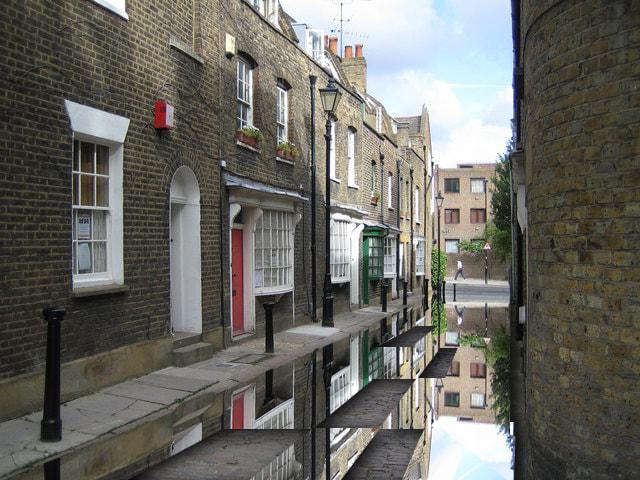
We were given these buildings and a street, and we had to reflect the building onto the street using the lasso tool. Then, we had to make squares with stroked lines, and use the magic wand and move tool to take out some squares. Finally, we used the fX tool to create a shadow.
Before After
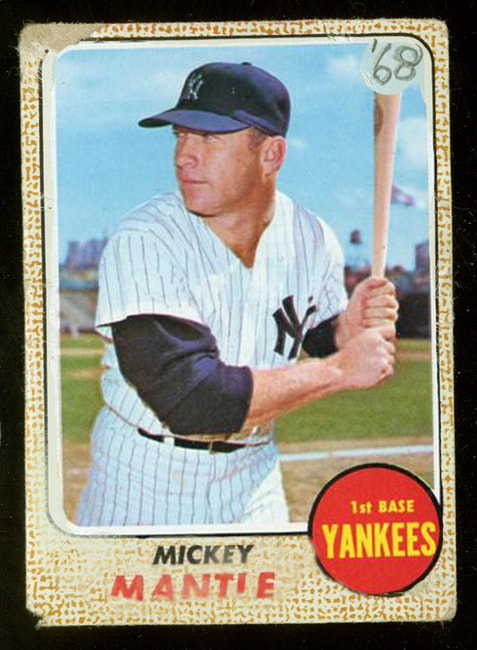
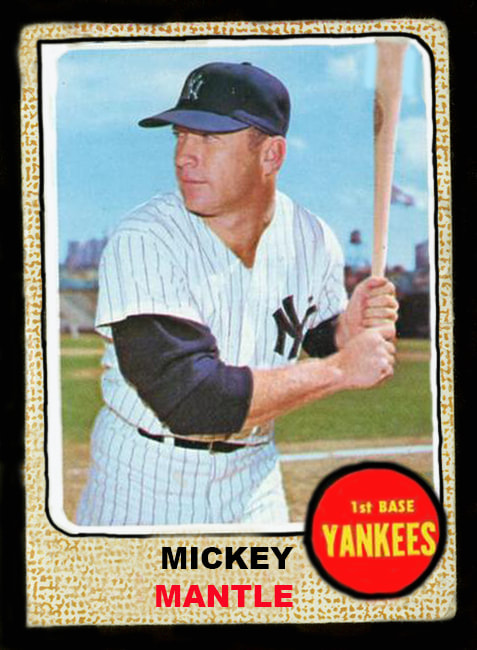
In this minor project, we were given this ripped Mickey Mantle baseball card, and we had to fix it. To do this, we had to use the paintbrush tool to fill in and outline different parts. I also used the clone stamp tool in certain parts to copy a pattern into a different area.
Before After

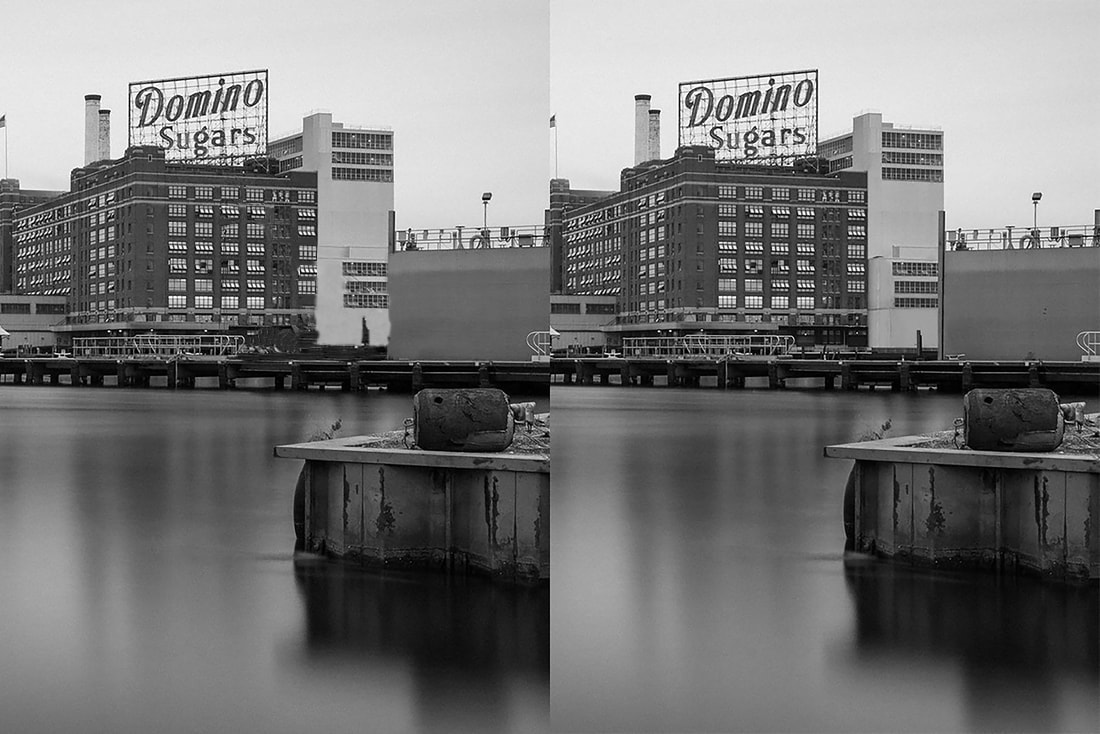
In this minor project, we were given these two images next to each other. Our assignment was to remove the crane, and make it seem like it was never even there. To do this, I used the clone stamp tool, and the rectangular marquee tool to make the windows look like the ones next to it.
Before after
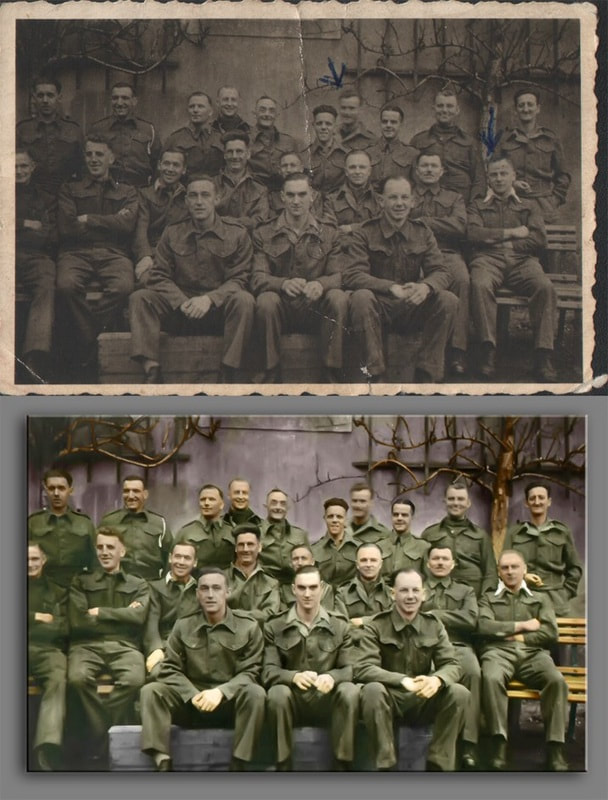
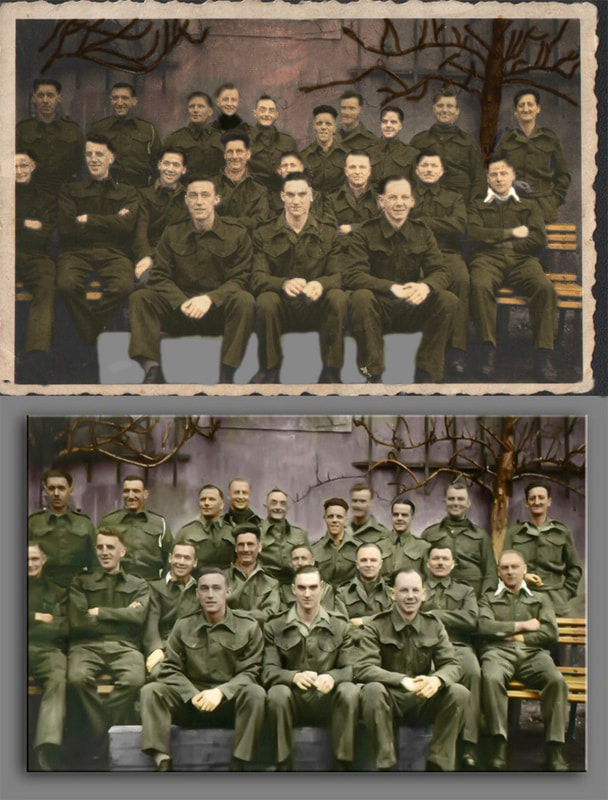
In this minor project, we had to color all of the soldiers above like they looked on the bottom. I used the paintbrush tool to make the top soldiers look like the bottom ones.
Before AFter
In this minor project, I used mostly the clone stamp tool to somewhat restore the image. Then, I used a black and white filter to make the top image look like the bottom one.
Before After
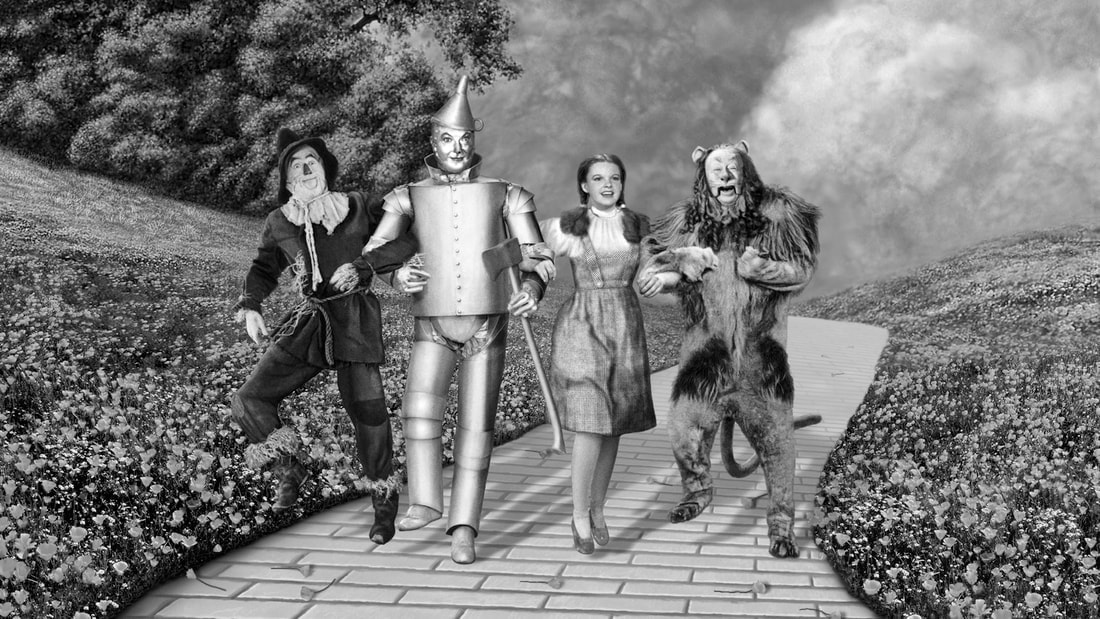
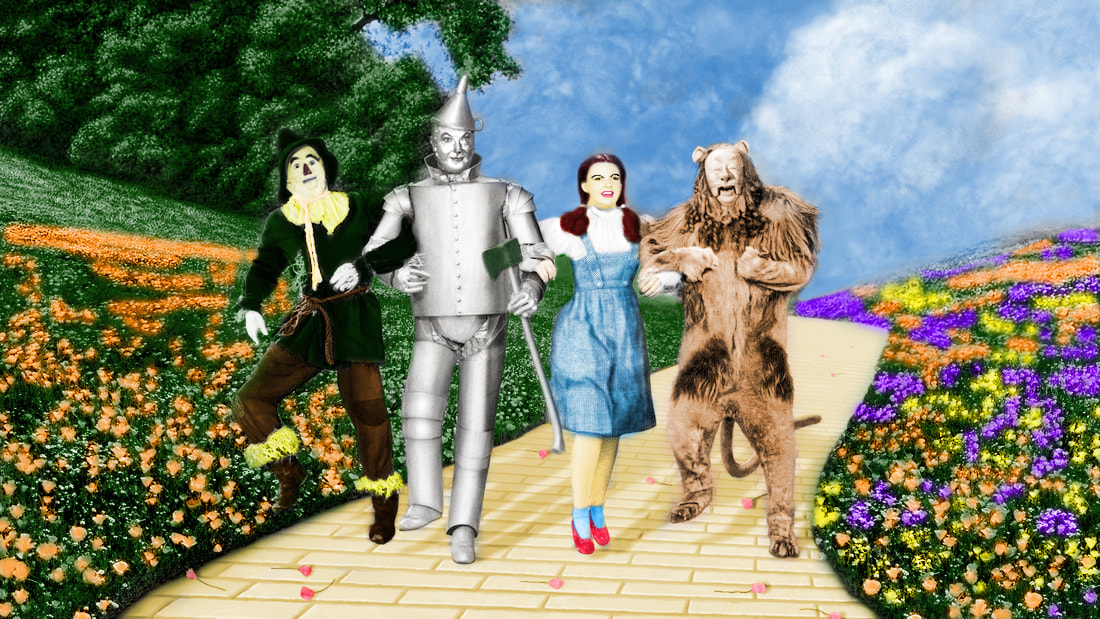
In this project we used the paintbrush tool to fully color the picture.
Before After
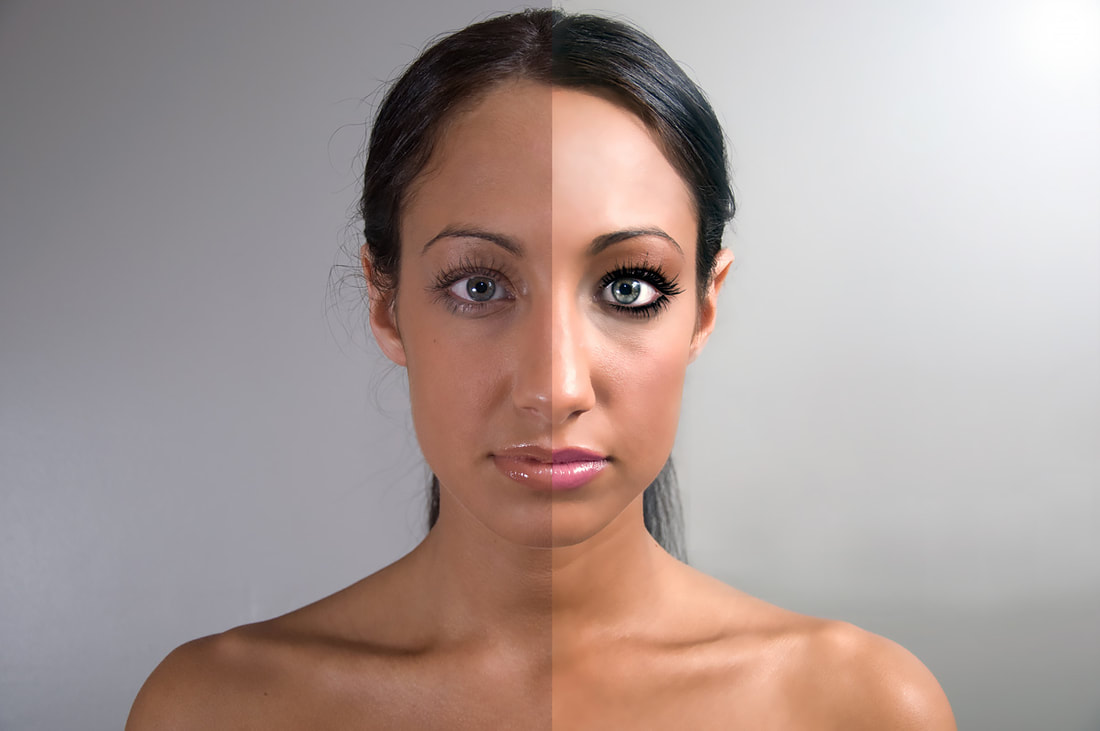
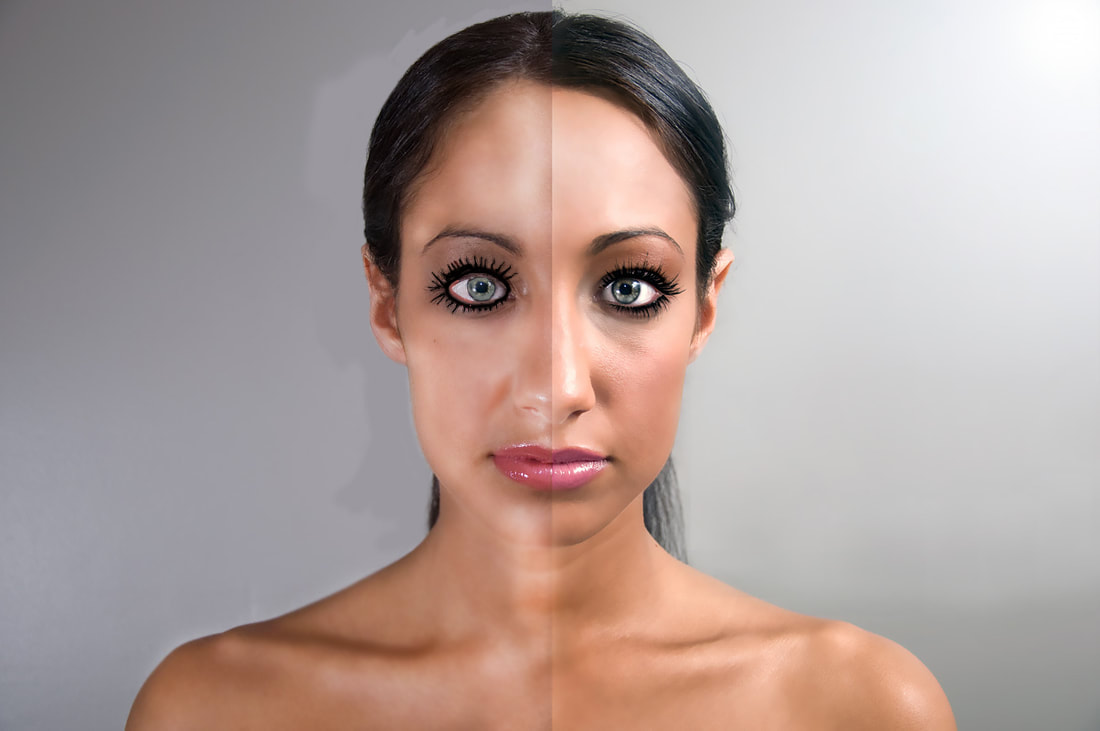
In this minor project, we had to make the left half of the image look like the right half of the image. To do this, I used many tools such as the burn tool, the dodge tool, the paintbrush tool, and more.
Creating a background

In this project we chose a color for a background and we had to make circles with the elliptical marquee tool and then use stroke, and inverse to make the "glow".
